Sourdough Ciabatta – Step by Step
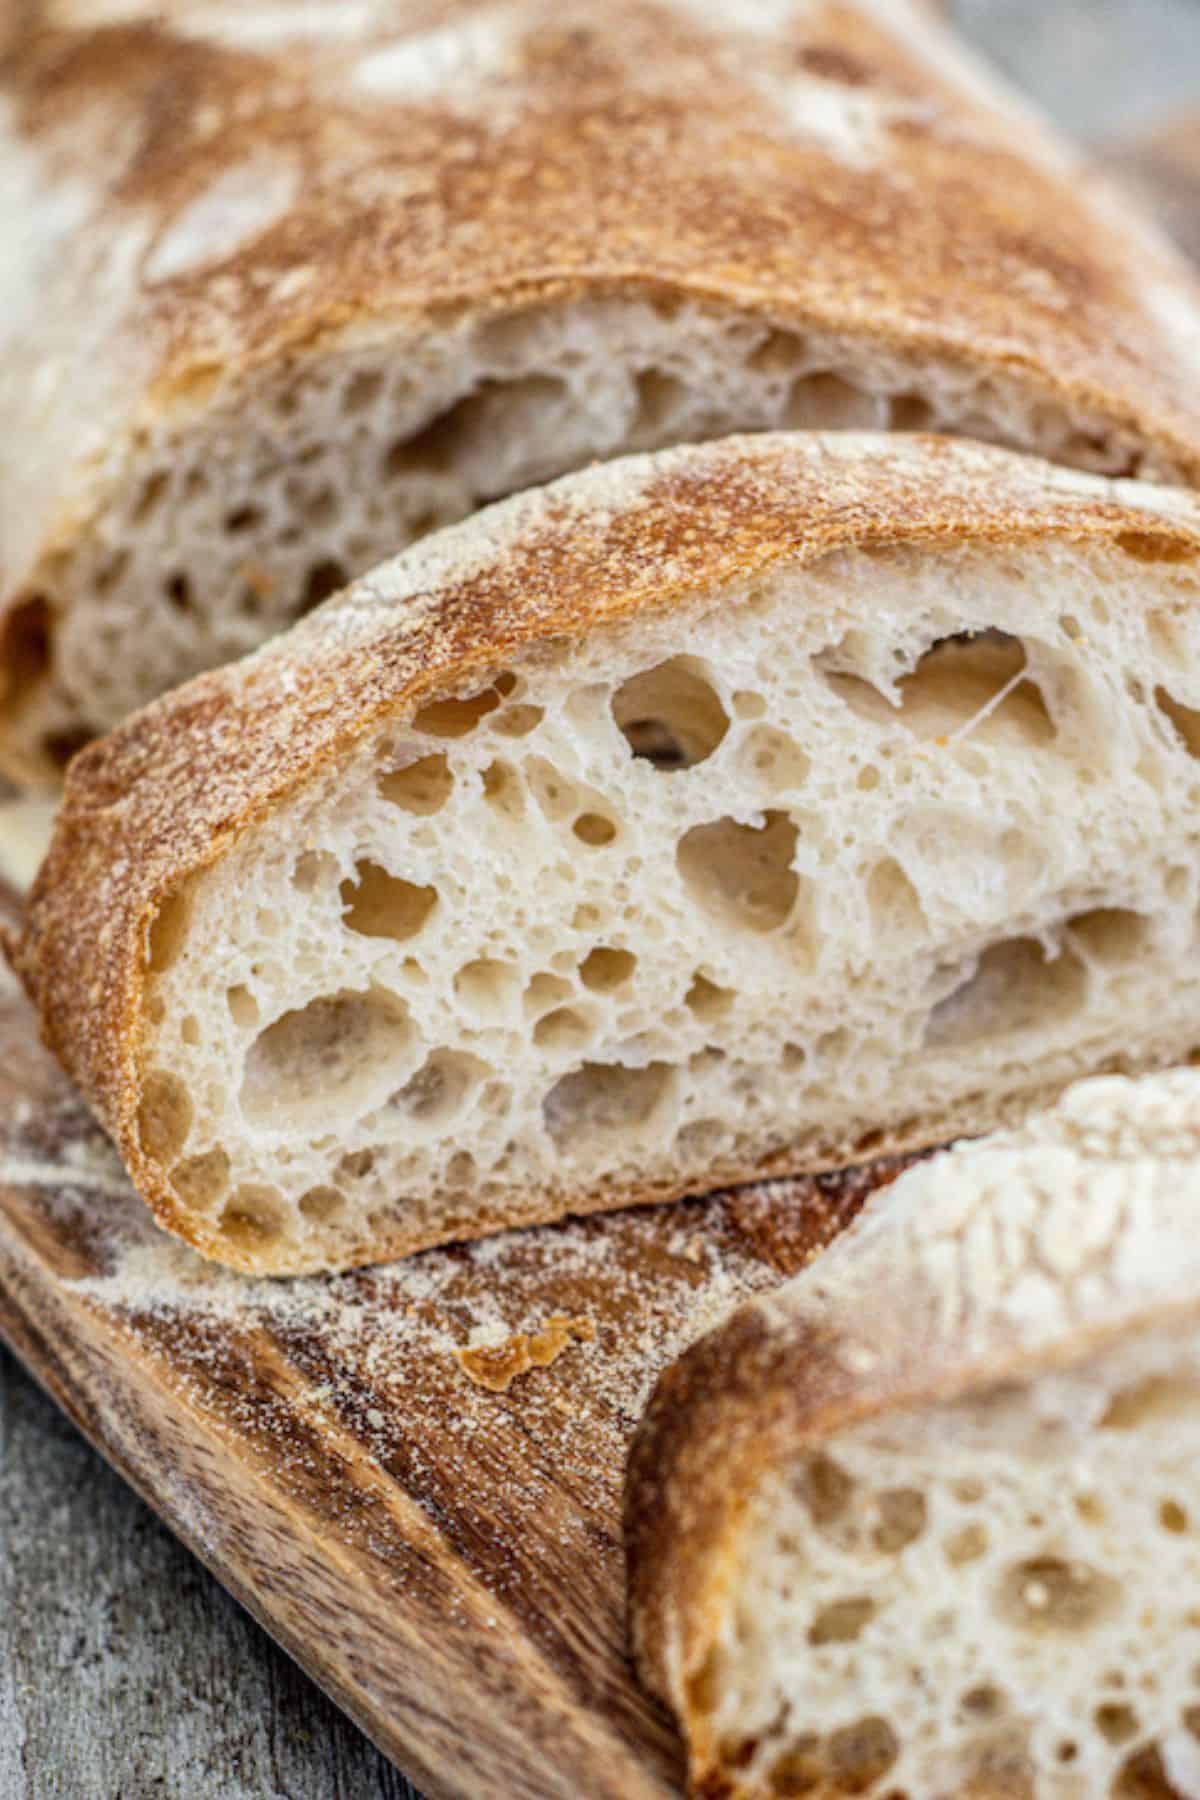
Sourdough ciabatta is rustic and delicious, made with a sourdough starter, flour, water, salt, and olive oil. It is known for its chewy texture and irregular holes. Ciabatta is a versatile bread that can be used for sandwiches, toast, or as a side for soups and stews.
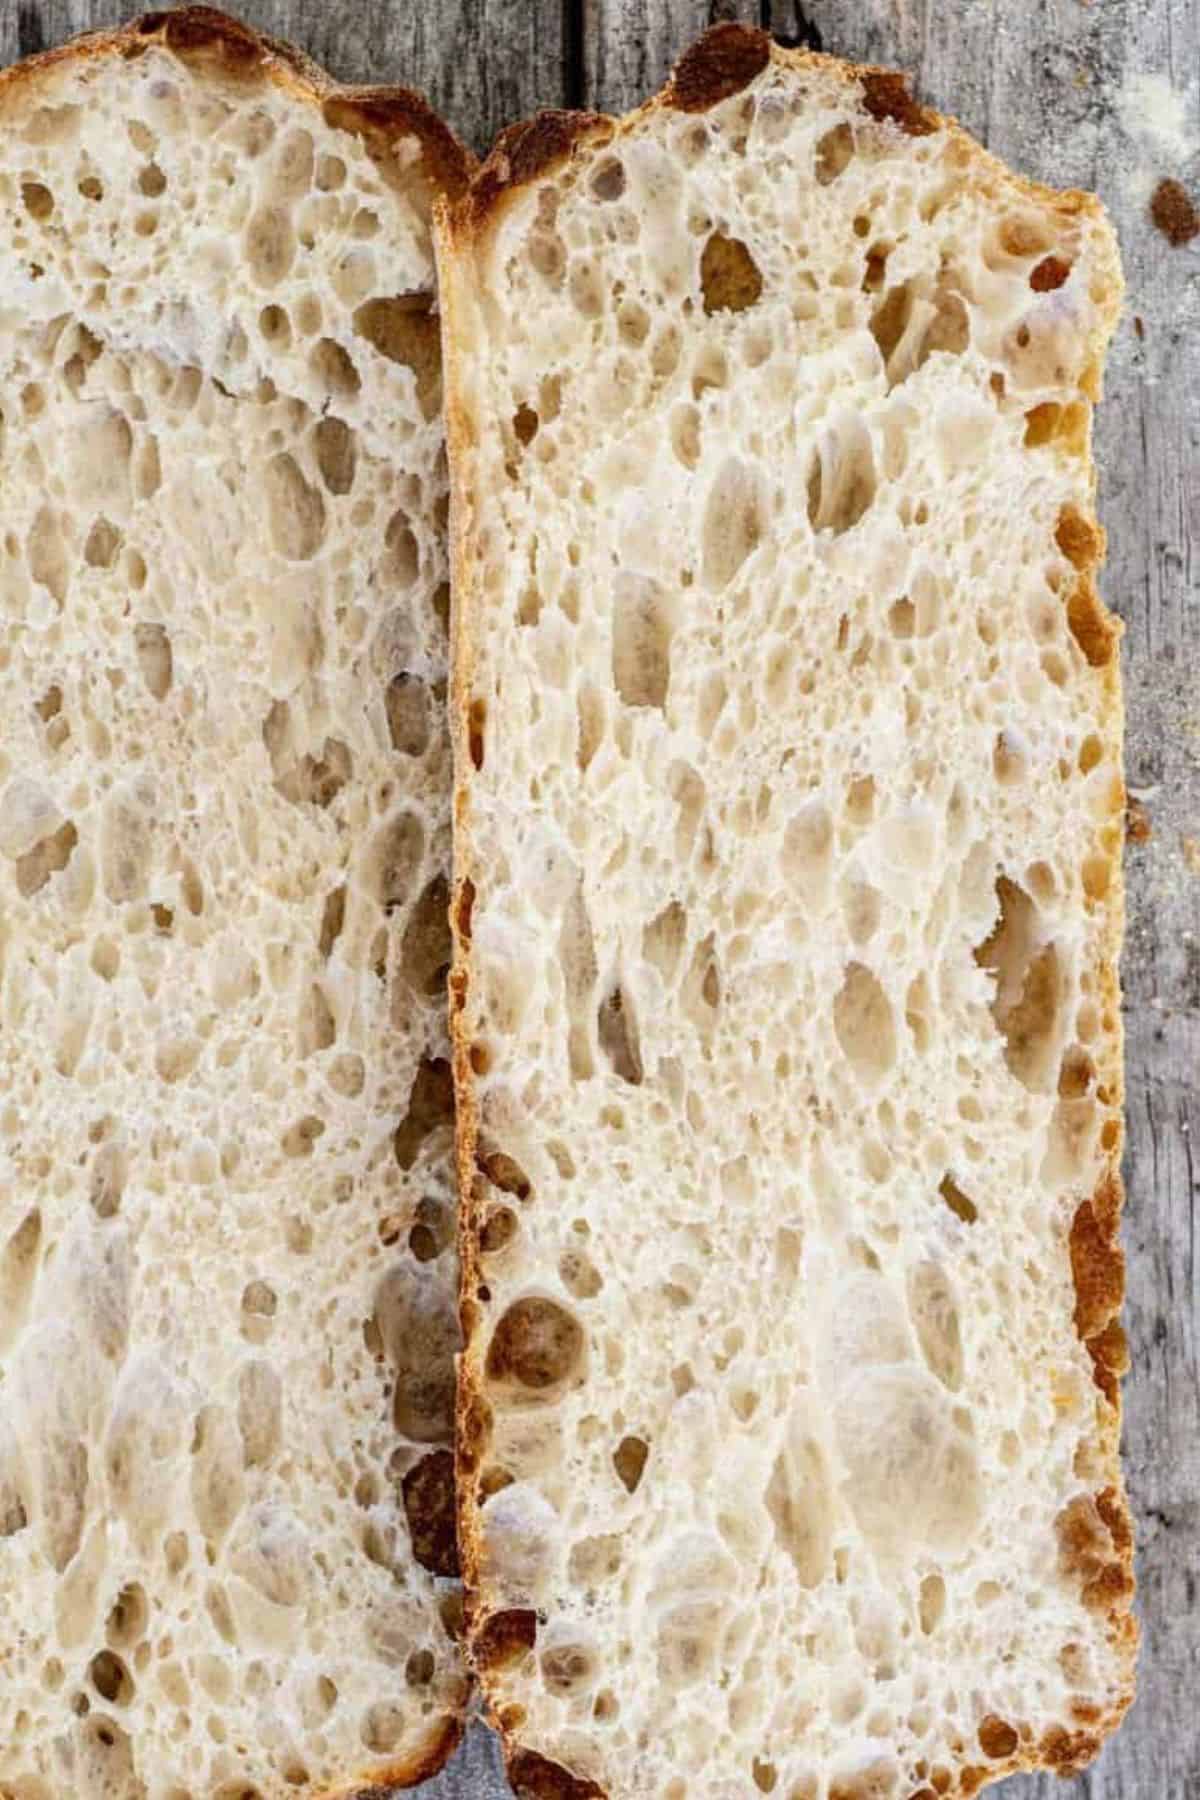
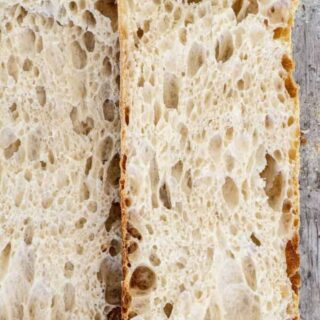
Ciabatta means ‘slipper’ in Italian, and I see why. Ciabatta is made with a very high-hydration dough. This wet dough spreads out into a long slipper shape, and the extra water is responsible for the ciabatta’s open crumb.
This sourdough ciabatta has a hydration of around 83%. It’s a fair bit wetter than my usual sourdough loaf recipe. I still make this by hand, though, without a mixer. The result is lovely, airy bread with large interior holes. It’s the perfect bread for sandwiches.
Ingredients
Find the amounts of the dough ingredients for this sourdough ciabatta recipe listed in the printable recipe card at the bottom of this post. Here is a rundown of what you will need.
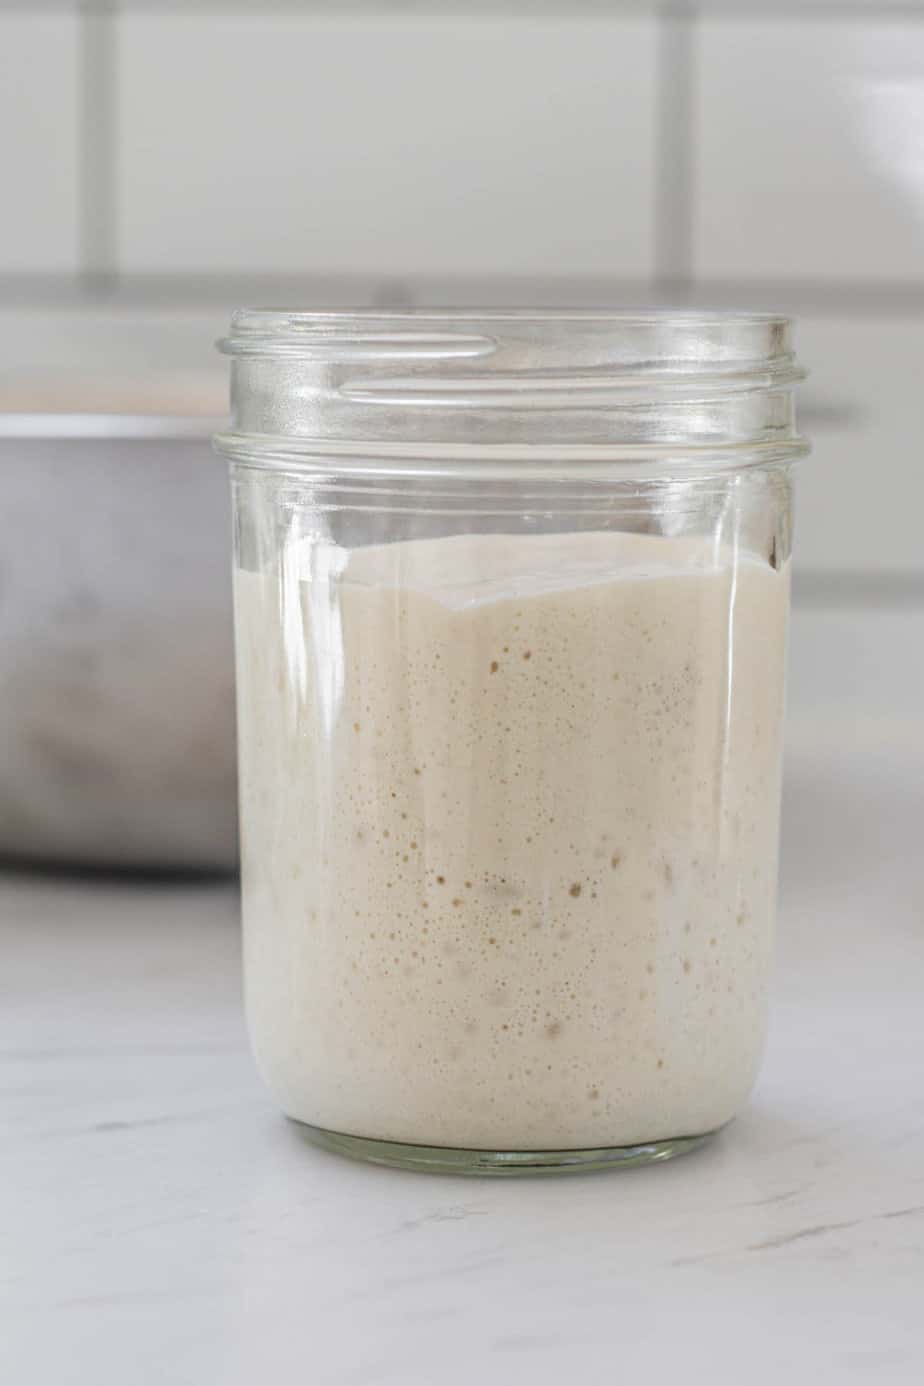
- Active sourdough starter. I use an active starter with low acid content with all my sourdough (unless it’s sourdough discard recipes). This means I keep my starter often refreshed, so the acid build-up stays low. Read more about sourdough starter maintenance. Mix ripe sourdough starter with flour and water and create a levain. This is the name for the separate mixture of sourdough starter, where the entire thing will be used in the dough.
- Bread flour or strong all-purpose flour ( You need a high gluten flour with a protein content of at least 11.5%.)
- Olive oil
- Water
- Salt
The sourdough ciabatta schedule
It’s a two-day process to make this sourdough ciabatta bread recipe. That’s the time needed to strengthen and ferment the dough well so your bread is airy, light, and delicious. Here is the baker’s schedule. Feel free to tweak it so it fits your schedule.
Day 1
- 9 am – Feed your sourdough levain and let it double
- 2 pm – Autolyze dough
- 3 pm – 7 pm – Bulk fermentation and first rise. You will fold the dough during this time, though you can also use a stand mixer with a dough hook.
- 7 pm – 8 am – Cold proof. This can be up to 24 hours. The longer the time left, the more tang the bread will have.
Next day
- 8 am – 9 am – Shape and final rise.
Method
Begin by feeding your levain so it has time to rise.
Mix the flour and water in a large mixing bowl into a sticky, shaggy dough when the starter has almost finished rising.
Cover the bowl and leave this dough to hydrate for 30-60 minutes. This step is called the autolyze.
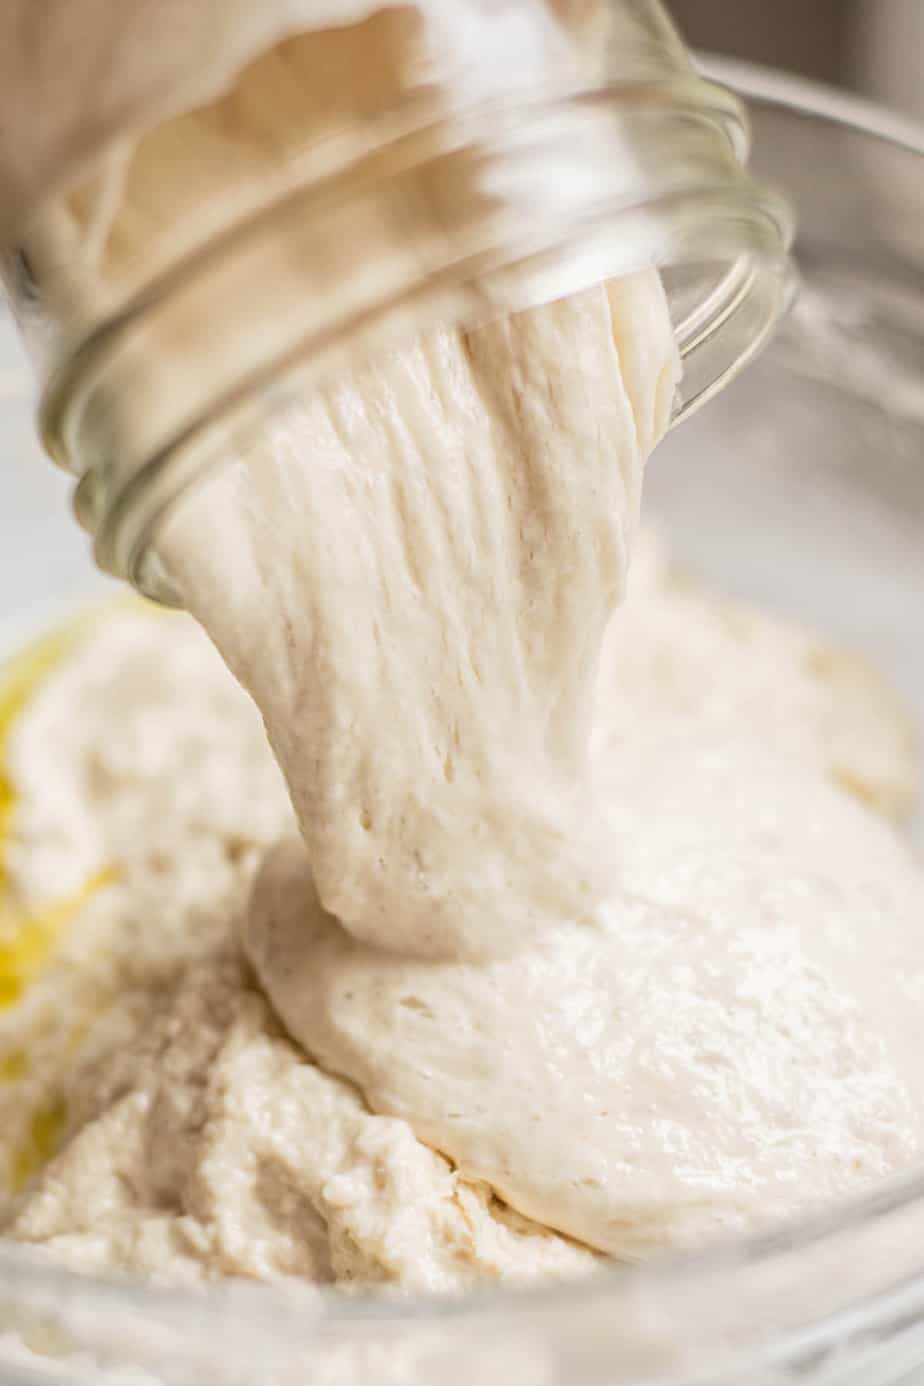
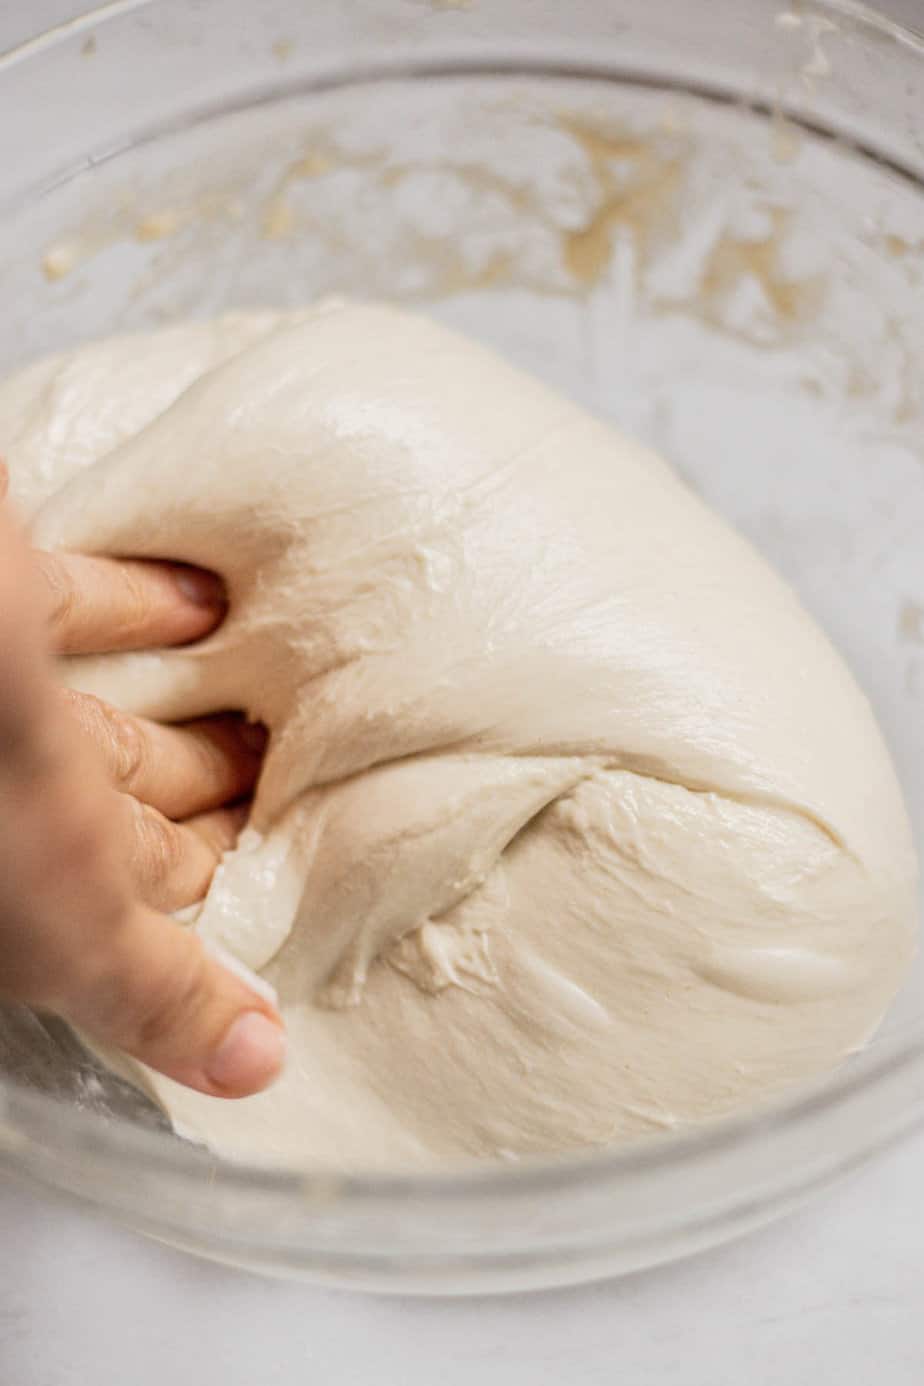
After the autolyze, add the salt, starter, and oil and squish it with wet hands until the sticky dough is well combined.
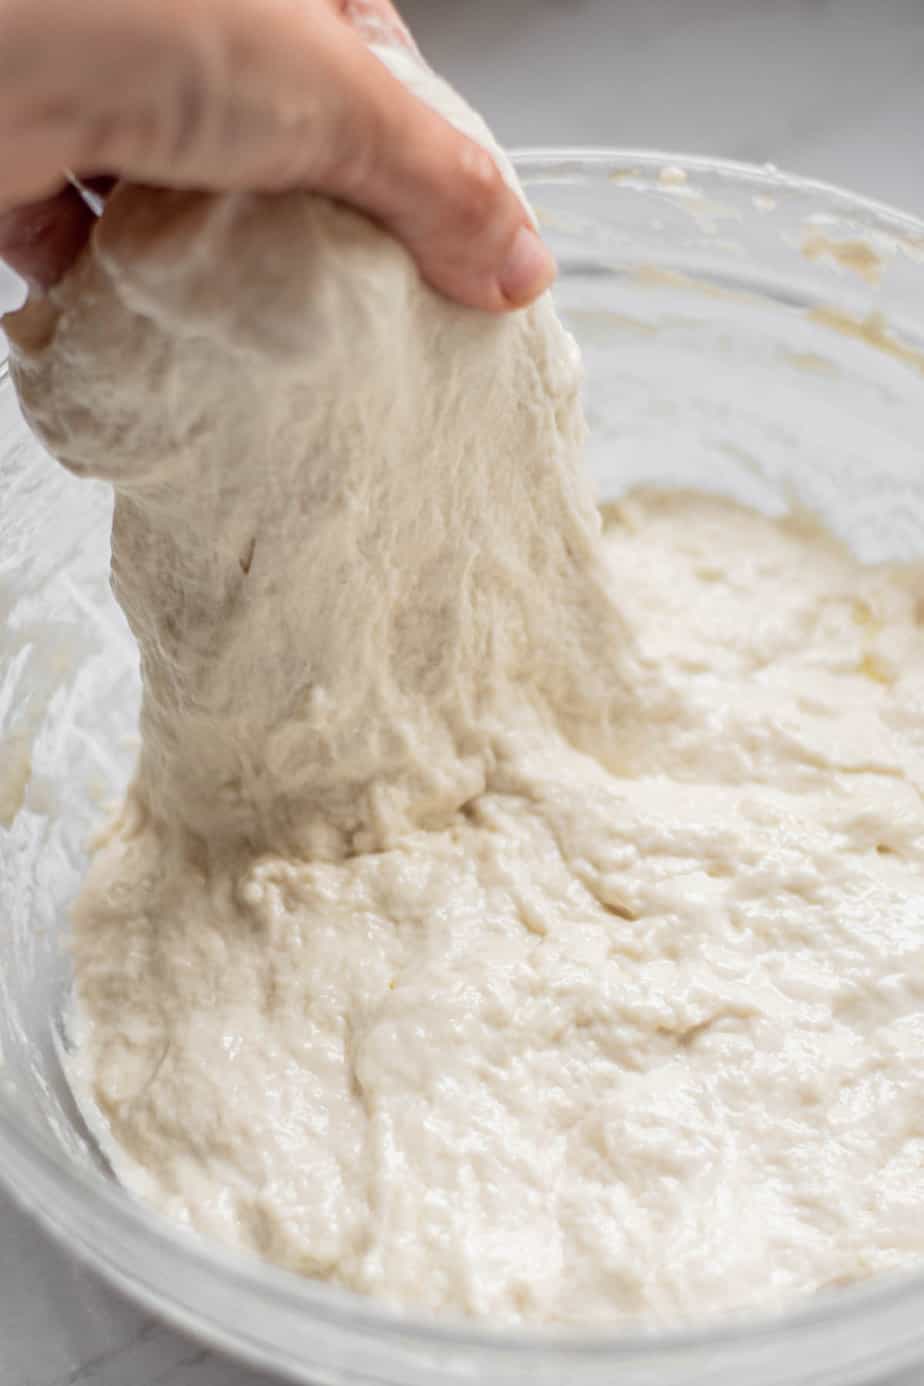
Leave the dough to rest for 10 minutes, then perform a set of stretch and folds or coil folds.
Using wet hands, take one side of the bread dough and stretch it up, then pull it over itself.
Turn the bowl a quarter turn and repeat this move. Continue stretching and folding, turning the bowl until all sides have been folded.
That is ‘one set’ of stretch and folds. Do this 4-5 more times over the next 2 hours.
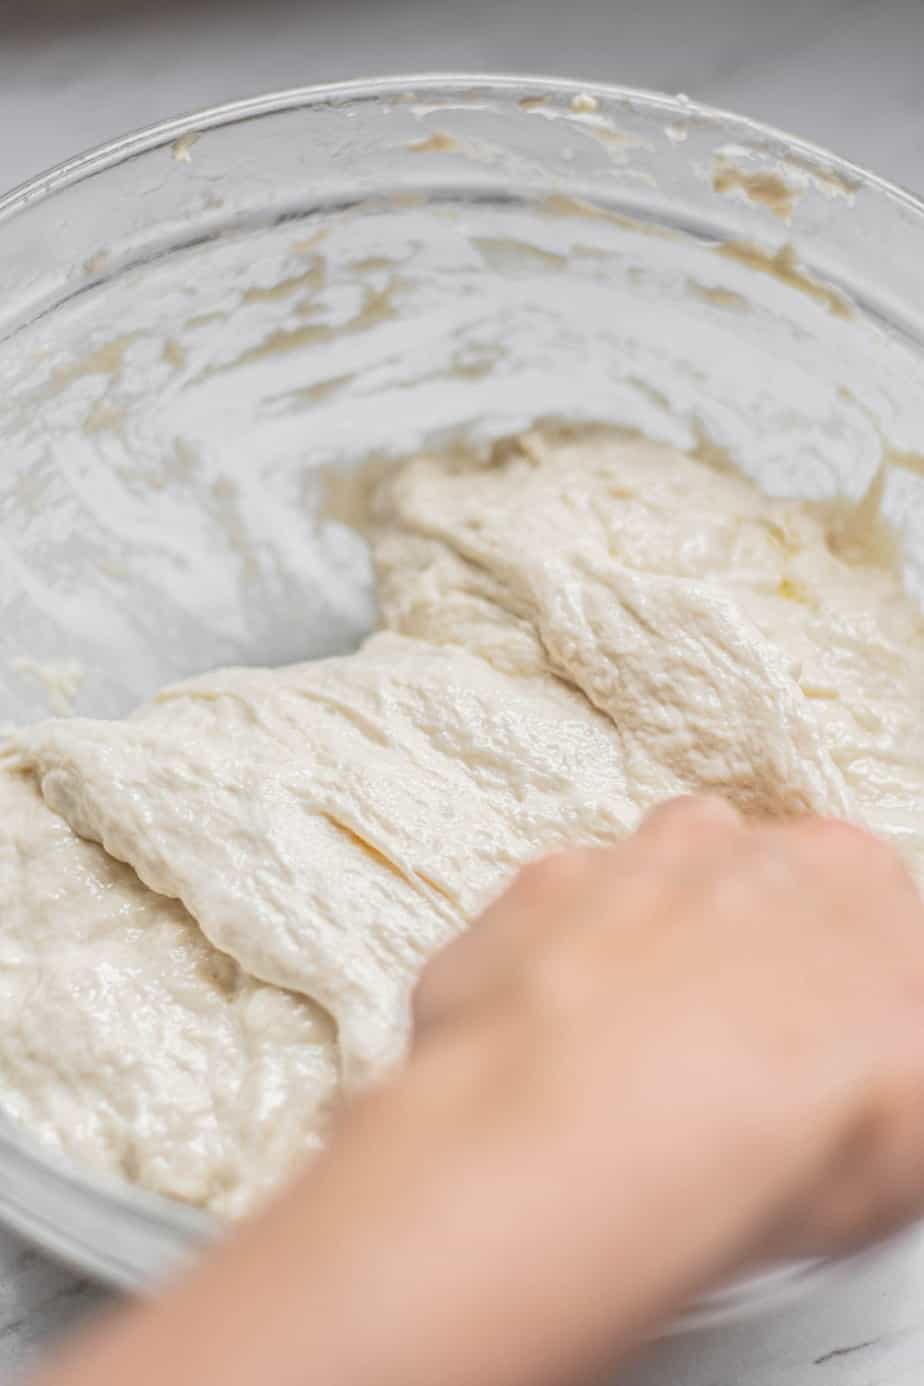
Coil fold – Using wet hands, coax the sides of the dough up with your fingers and lift it from the middle and back onto itself. Turn the dough and repeat on all sides until it forms a ball. If the dough sticks too much to your hands, wet them again. See coil folding in action.
Even though it will start as a slack dough, if your starter is good, you will notice the incredible changes in the dough as it strengthens and gluten development happens. The first stretch and fold will be rough, but it will soon become a strong, elastic dough.
After the last fold, let the ciabatta dough rest on the bench until it has bulked out by around 50%. Cover the bowl tightly and transfer to the fridge overnight (or up to 24 hours)
Stand mixer
You can also use a stand mixer with a dough hook if you prefer not to fold it. After the autolyse period, knead the dough in the mixer for around 15 minutes until it’s strong and smooth and passes the windowpane test.
Then let it rest and bulk on the bench.
Shaping
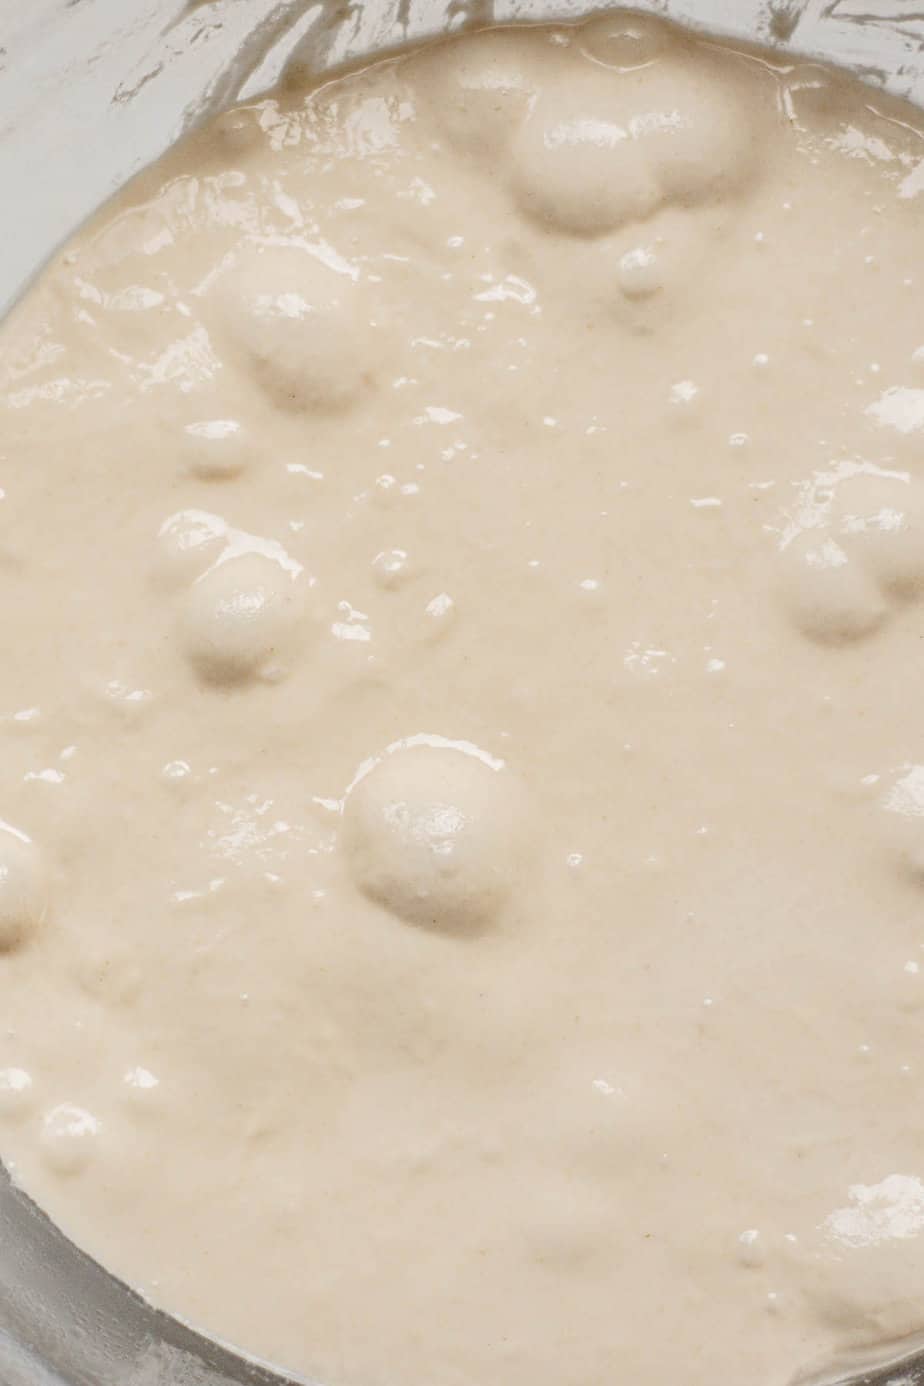
After the cold proof, there should be plenty of signs of bubbles and fermentation.
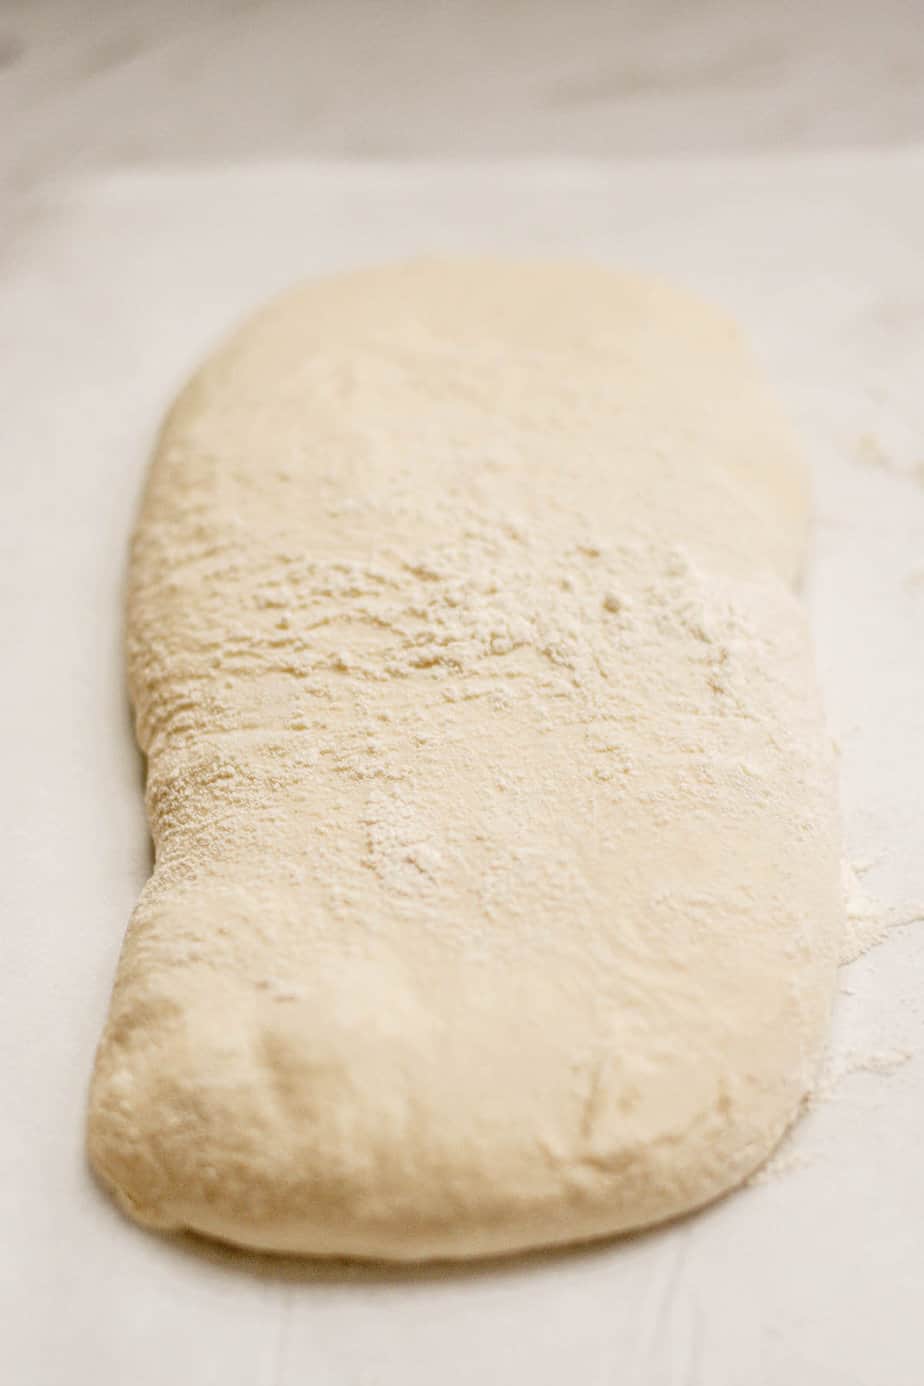
Tip the dough onto a well-floured work surface and generously dust the top of the dough with flour. Use a bench scraper to push the dough into a rectangular shape.
Line a baking sheet with parchment paper and dust the parchment paper with flour.
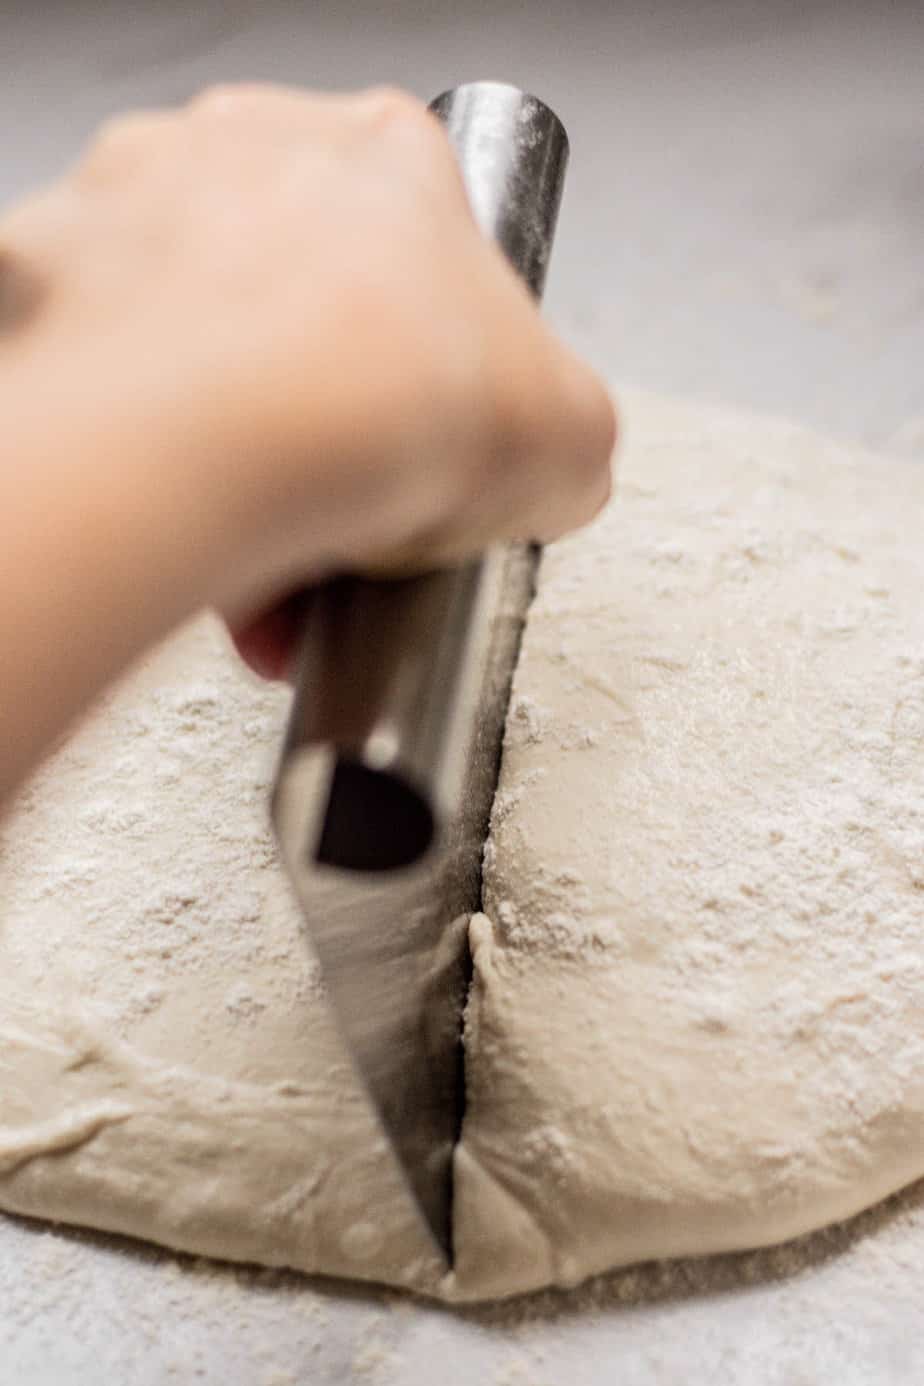
Use the bench scraper to cut the dough rectangle width-wise into 2 equal pieces.
Using floured hands, lay one piece on the parchment paper.
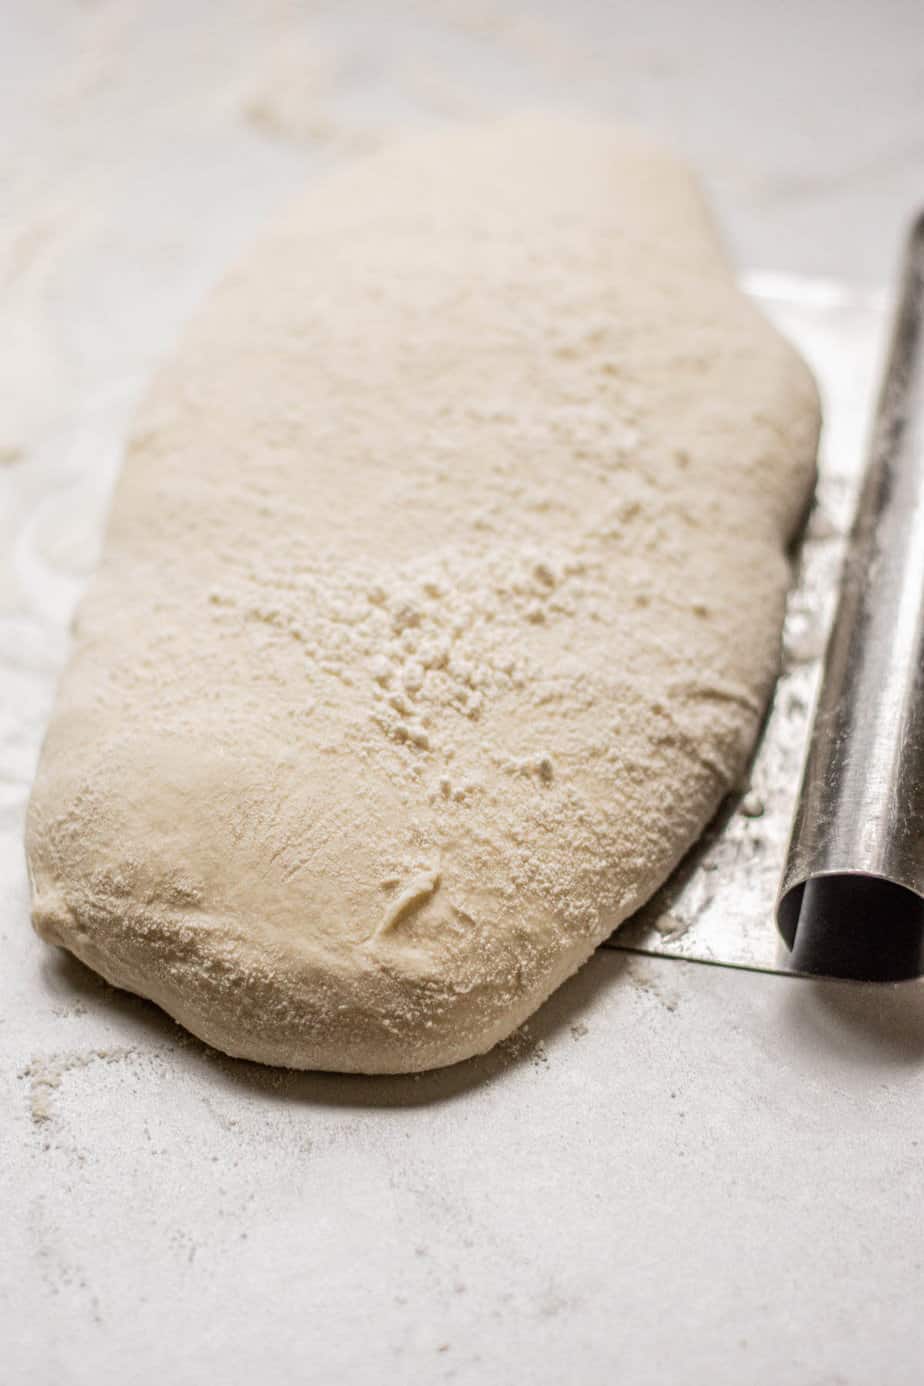
You can also use your bench scraper to help pick up the dough.
Stretch it out just a little as you lay it down. Repeat with the second piece.
Cover the dough with a floured kitchen towel and let the dough sit at room temperature for around an hour until slightly puffy. If your kitchen is cooler, increase this to one and a half hours.
Baking the dough
Preheat an oven and a baking sheet to 230°C (450°F). Slide a board under the parchment paper with the dough when the oven is at temperature. Transfer the parchment to the preheated baking sheet.
Bake the loaves for around 25-30 minutes in the oven alongside a dish with an inch of water to create some steam while the sourdough ciabatta bakes. Take care when opening the oven door as the steam will rush out.
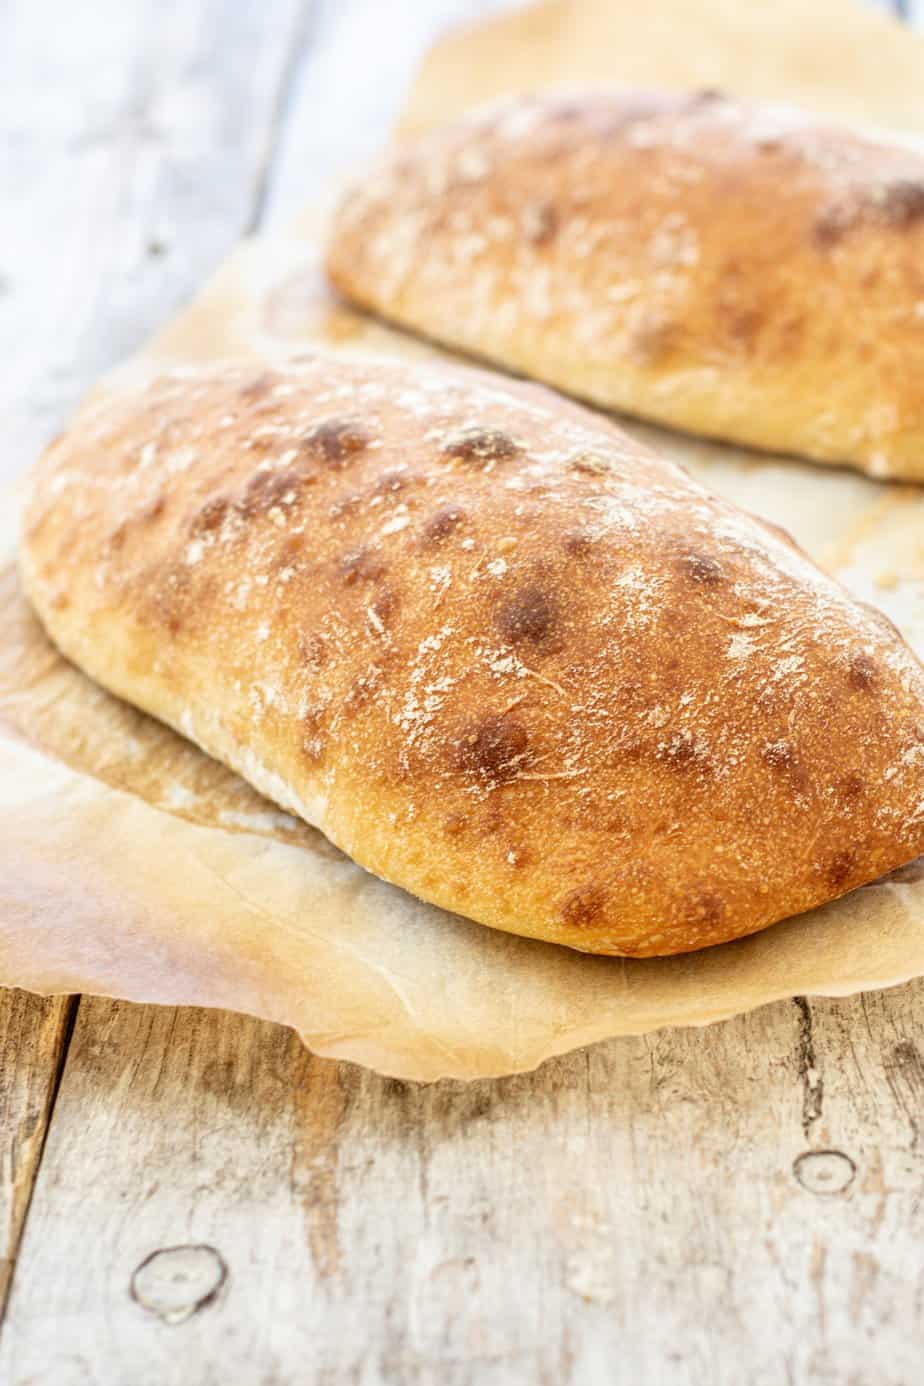
Once baked, it should be a deep golden brown and sound hollow when tapped. Let the bread cool for at least an hour before slicing to avoid a gummy texture.
More sourdough bread recipes
If you liked this sourdough ciabatta bread recipe, you might like these too!
- Step-by-Step Sourdough Baguette Recipe
- Soft sourdough dinner rolls
- Sourdough ciabatta sandwich rolls
- Sourdough burger buns
Sourdough Ciabatta Bread
Airy and soft, this sourdough ciabatta bread is easy to make at home, without a mixer.
Ingredients
Levain
- 25g sourdough starter
- 50g all-purpose flour
- 50g water
Dough
- 420g bread flour
- 340g water
- 15g olive oil
- 10g salt
- All the levain
Instructions
Day 1
- Begin by feeding your levain so it has time to rise. Mix the levain ingredients and tip into a clean jar. Leave it to rise in a warm place for 4-6 hours to at least double (but not collapse).
- When the starter has nearly finished rising, mix the flour and water in a large bowl into a sticky, shaggy dough. Cover the bowl and leave this dough to hydrate for 30-60 minutes. This step is called the autolyze.
- After the autolyze, add the salt, starter, and oil and squish it with wet hands until the sticky dough is well combined.
- Leave the dough to rest for 10 minutes, then perform a set of stretch and folds or coil folds.
- Perform 4-5 more sets of folds over the next 2 hours. After this, cover the bowl and let it further ferment in a warm place, ideally around 25°C/77°F for 2-4 hours until it shows clear signs of fermentation and bulks by around 50%. This timing will depend on your room temperature.
- Transfer to the fridge overnight (or up to 24 hours)
Day 2
- After the fridge rest, there should be plenty of signs of bubbles and fermentation.
- Tip the dough onto a well-floured work surface and generously dust the top of the dough with flour. Use a bench scraper to push the dough into a rectangular shape.
- Line a baking sheet with parchment paper and dust the parchment paper with flour.
- Use the bench scraper to cut the dough rectangle width-wise into 2 equal pieces.
- Using floured hands, lay one piece on the parchment paper. You can also use your bench scraper to help pick up the dough. Stretch it out just a little as you lay it down. Repeat with the second piece.
- Cover the dough with a floured kitchen towel and let the dough sit at room temperature for around an hour until slightly puffy. If your kitchen is cooler, increase this to one and a half hours.
Baking
- Preheat an oven and a baking sheet to 230°C (450°F).
- Slide a board under the parchment paper with the dough when the oven is at temperature. Transfer the parchment to the preheated baking sheet.
- Bake the loaves for around 25-30 minutes in the oven alongside a dish with an inch of water to create some steam while the sourdough ciabatta bakes. Take care when opening the oven door as the steam will rush out.
- Once baked, it should be a deep golden brown and sound hollow when tapped. Let the bread cool for at least an hour before slicing to avoid a gummy texture.
Notes
* A strong all-purpose flour with at least 11.5% protein can also be used.
Nutrition Information:
Yield: 6 Serving Size: 1 gramsAmount Per Serving: Calories: 333Total Fat: 6gSaturated Fat: 1gUnsaturated Fat: 0gSodium: 780mgCarbohydrates: 58gFiber: 2gSugar: 1gProtein: 10g