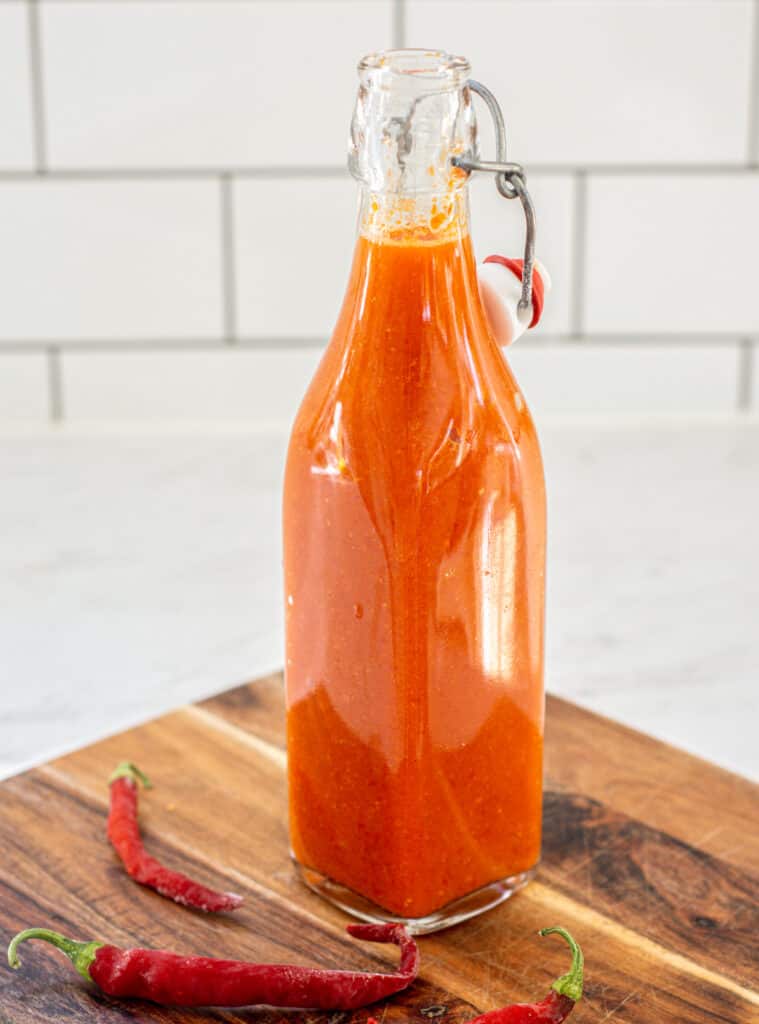
Fermented Hot Sauce Recipe – Easy Lacto-Fermentation
A fermented homemade hot sauce made from chili, garlic, and onion. It’s tangy, spicy, and delicious
Every year I make a few bottles of this fermented hot sauce recipe. It has a great spicy and complex flavor.
One for my family and a few to give away. If fermented and stored correctly this homemade chili sauce can last a long time, even up to 12 months in the refrigerator. Ready to bring a zesty spice to your favourite meals.
The peppers
You can make this sauce of fermented peppers as hot or mild as you prefer, with the addition of either extra spicy chilies, or sweet peppers. Your choice of pepper will determine how spicy your sauce is and what hot chili peppers you use.
The ghost pepper is super high on the Scoville scale (which measures heat level). Jalapeño peppers are much lower. The mix of spicy chili and sweet bell peppers helps to calm the spice if you don’t it too hot.
What Is Lacto Fermentation?
If you’re not familiar with Lacto-fermenting, let me fill you in real quick. Fermented food uses a preserving process that relies on beneficial bacteria (Lactic acid bacteria. The lactobacillus bacteria genus, like in sourdough starter!) to break down the starches and sugars in foods.
While they are doing that, they create lactic acid. This is what gives fermented foods a tangy kick (and in bread, it can help it store longer.)
The breaking down of the sugars and starches helps with digestion too and Lacto-fermented foods bring a healthy dose of probiotics and enzymes to your diet.
Where are Lactobacilli Bacteria?
Lactobacilli bacteria are present on the skins of fruits and vegetables. Homegrown or spray-free produce is best for the maximum amount of lactobacilli. Given the right environment, these good bacteria will thrive and multiply. They then create a very acidic environment that stops harmful bacteria from growing.
The fermentation process takes place in a salt-brine which is another barrier against bad bacteria.
Salt-Brine
Salt-brine is simply a solution of water and salt which is what the chili sits in while it ferments. The salt helps to inhibit the growth of bad bacteria. The amount of salt needed can differ depending on the recipe.
You need enough to keep the bad bacteria out but not too much that it stops the fermenting process. For this recipe, a salt water solution of 3-3.5% salt is used.
Water for Fermenting
What water to use in fermenting can be a hot topic amongst fermenters. Some water sources can contain amounts of chlorine and other elements that could affect the fermenting process. Filtered water or tap water that has been boiled and left to cool is best to use.
Personally, I just use tap water. My tap water doesn’t seem to affect my ferments or sourdough starter, however, if you feel your tap water may hinder the process, it’s better to be safe than sorry and use filtered water.
Can You Ferment Frozen Chilli
You can use both fresh chili and frozen chili to make this hot sauce because it will be pureed into a. sauce. As vegetables freeze their structure does break down. Therefore frozen vegetables become a lot softer than fresh vegetables so for ferments where you want the vegetables to retain their crunch this isn’t suitable.
For a fermented hot sauce, however, frozen peppers work just as well as fresh peppers.
Fermenting Equipment
You don’t need anything fancy to ferment foods at home, however, there are definitely items you could buy to make the fermentation process that much easier.
Equipment:
- A fermentation vessel or fermentation crock. This needs to be big enough to hold the produce and the brine, plus leave a gap for overflow. An active ferment needs space to bubble. A wide-mouth mason jar works well. I use a quart large wide mouth mason fermentation jar. The wide mouth means it is easy to pack the vegetables into it and the glass means it’s non-corrosive and easy to clean. It also fits these fermenting weights and airlocks.
- A weight. This is needed to hold the produce under the salt brine. If any vegetables are exposed to oxygen, then there is a chance of mould and bad bacteria growing. I use glass weights, but if you’re after a free option, sterilized river stones (just boil them!) work too.
- An airlock. This is optional, but it is super helpful and something I highly recommend. As the bacteria grow, they release carbon dioxide. These gases need to be let out of the jar. An airlock lets out the gas but doesn’t let in oxygen. If you don’t have one, the jar will need to be ‘burped’ regularly to release the gas (which is just unscrewing the lid to release the gases).
- Unrefined salt – I use a natural sea salt
- Water – Filtered water is best to use as too much chlorine in the water straight from the tap may affect the fermentation process. You can use tap water and leave it to sit out at room temperature for a day to dissipate the chlorine.
How To Make Fermented Chilli Sauce – The Method
Here are the step-by-step instructions to make fermented hot sauce. The ingredients list is found in the recipe card at the bottom of this post.
- Step 1- Make the brine. Make a salt brine with around 3 – 3.5% percent salt. Pour 500ml water into a saucepan along with about 15 – 17g of unrefined salt (approximately 1 tablespoon.) Warm the water up so the salt can dissolve, then leave it to cool to room temperature.
- Step 2 – Prepare the vegetables – Remove the stalks from the chilies. Chop them up if they’re very big. You might want to wear gloves when doing so because the spicy chili can stay on your hands for ages afterward! Remove the pith and seeds if you’re wanting to lessen the spice. Chop the capsicum into chunks, dice the onion and peel a few cloves of garlic.
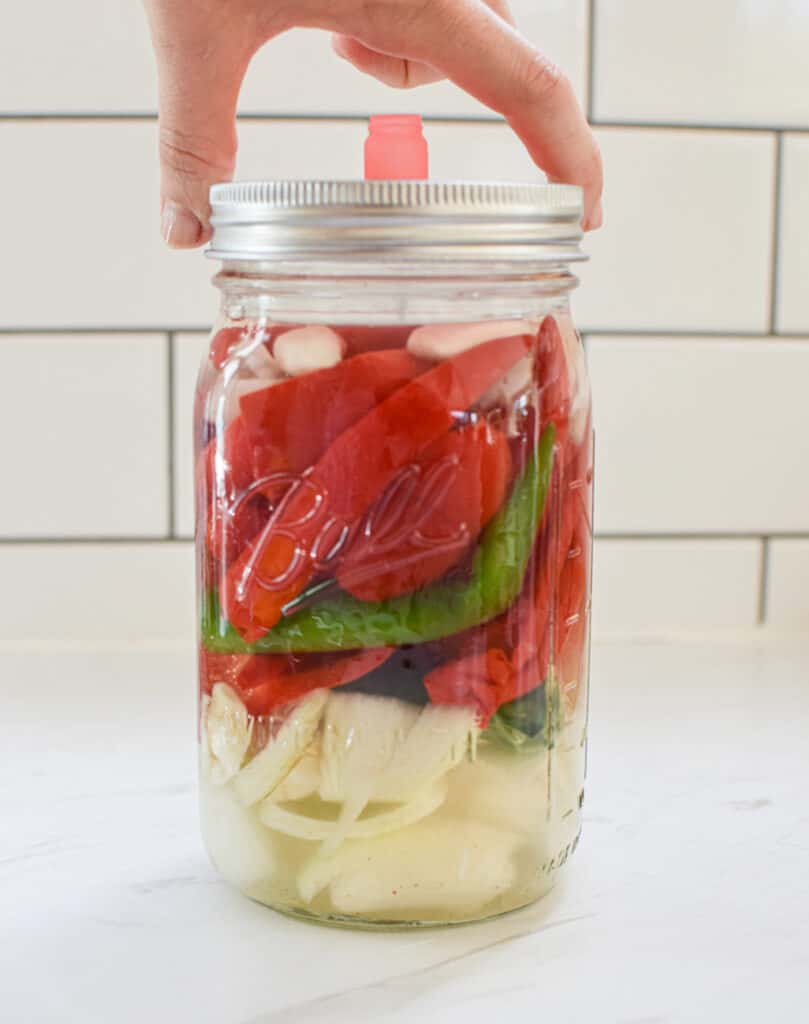
- Step 3 -Pack the vegetables into the jar. Pack them in nice and tightly so that you can leave about 2.5cm/ 1 inch of space between the vegetables and the top of the jar.
- Step 4 – Pour over the brine. Use a spatula or similar to push the vegetables down to ensure the brine has reached all the nooks and crannies and there are no air bubbles trapped.
- Step 5 – Add on a clean weight. Ensure the vegetables are pushed under the brine.
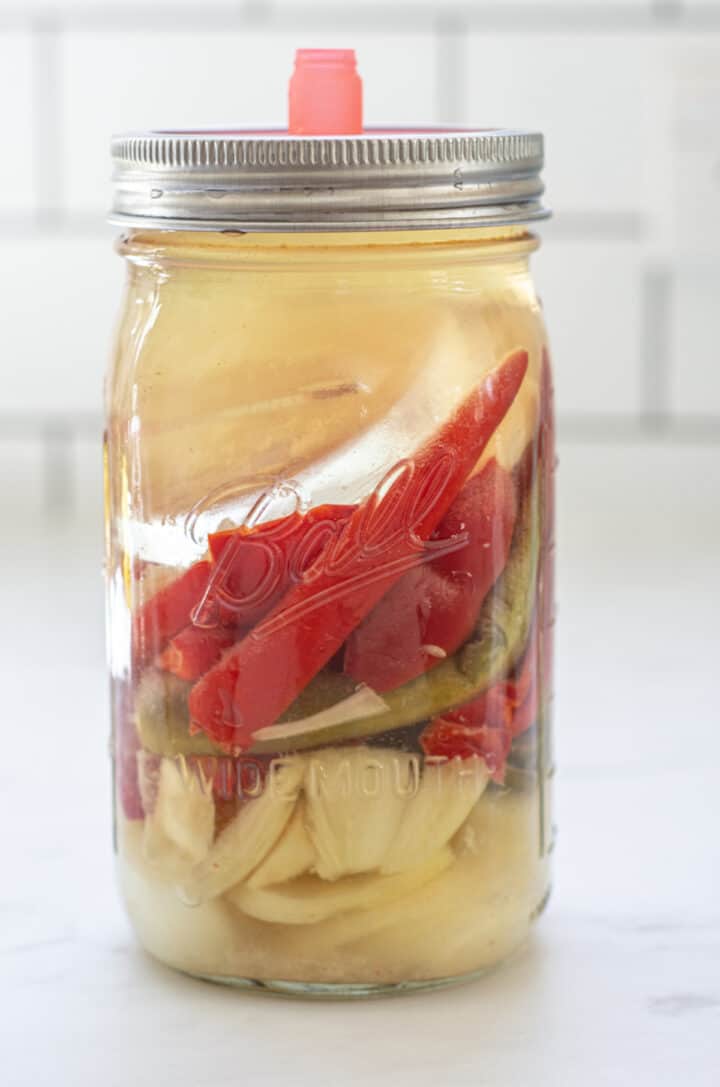
- Step 6 – Add on the air lock and lid. Store the vegetables at room temperature for 10-14 days, out of direct sunlight. Fermentation will depend on a few factors, including room temperature. I usually keep mine in the pantry. If you are not using an airlock and just a lid, screw it on loosely and unscrew it daily to release the trapped gases.
Things to Watch For when Fermenting
Bubbles – The ferment may bubble so it’s best to keep the jar on a plate to catch any spills.
- Cloudy brine – The brine may become cloudy and sediment may fall to the bottom of the jar. These are both signs the ferment is underway.
- Vegetable discolouration – The chili will lose some colour during the ferment.
- Mould – If any mould begins to grow on the surface of the ferment it may be that your fermenting equipment wasn’t clean enough, it might be too warm or the vegetables weren’t properly submerged. Mould can be black, green, grey, orange or red. If you see it growing on your ferment, it’s best to toss it and start again. However, don’t get it confused with kham yeast which is a white filmy substance.
- Kahm yeast – Sometimes, kahm yeast can form on ferments. This appears to be a white film that forms on the ferment. It’s harmless but it can affect the taste. A too warm fermenting environment can be the cause or poor hygiene.
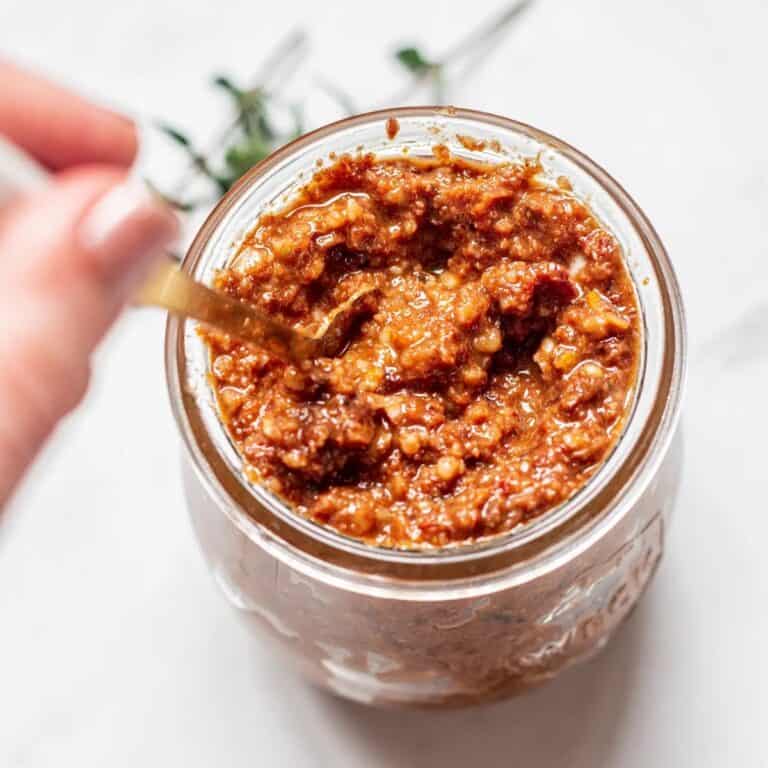
Blending the Sauce
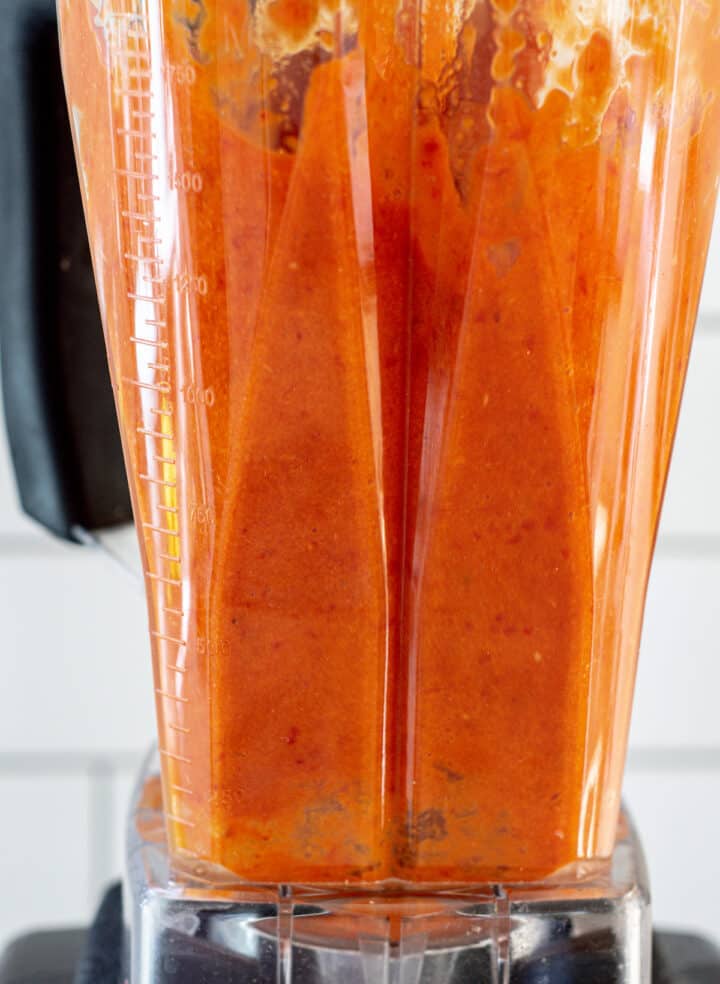
Once the vegetables have fermented, it’s time to blend them to make fermented hot sauce. Balance a strainer over a bowl and pour the vegetables through it, reserving the brine.
- Place the vegetables in a food processor or blender and blend them until smooth. Now add in a little brine at a time until the fermented hot sauce reaches the consistency and thickness that you like. Add more brine for a thinner sauce.
You can add in a little extra tang with apple cider vinegar, lemon juice, or lime juice depending on your taste, as well as sugar if you like a sweeter hot sauce.
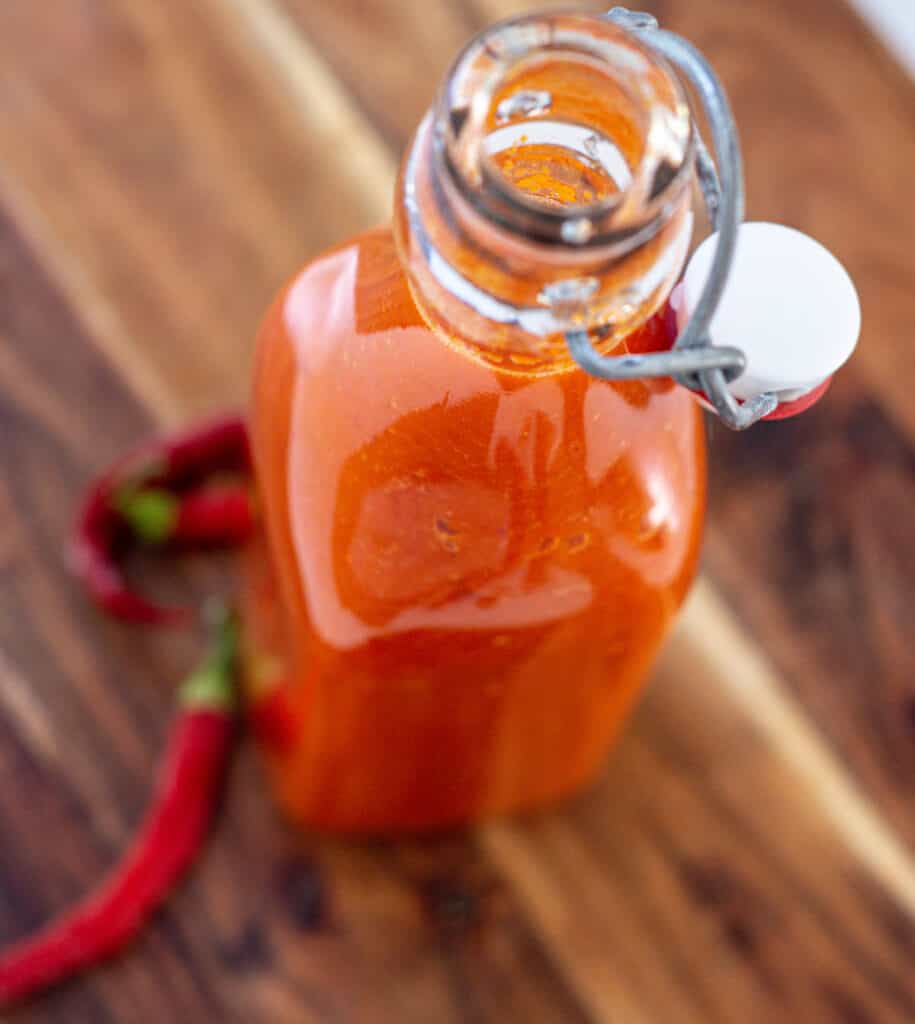
Bottling the Fermented Chilli Sauce
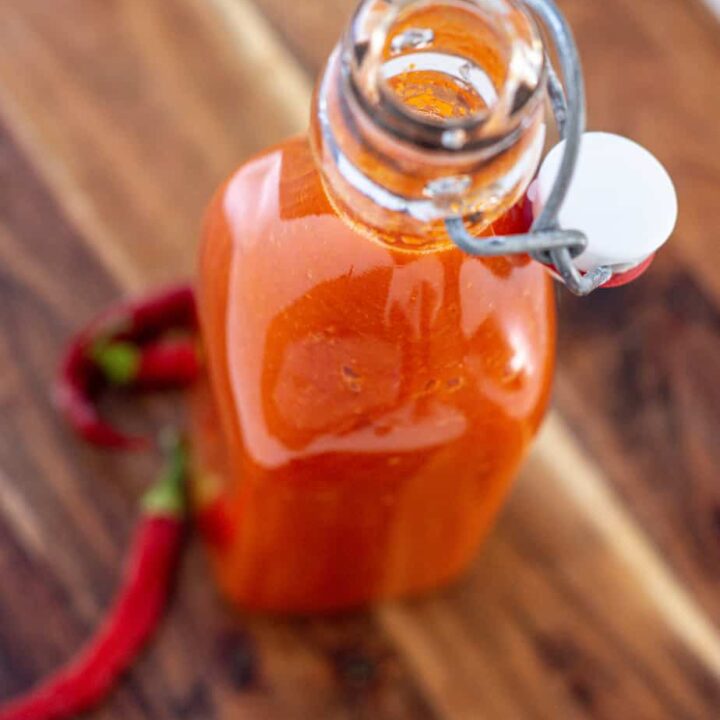
Pour the sauce into bottles but ensure you leave some headspace between the top of the hot sauce bottles and the sauce. As the sauce sits in the fridge, even though fermentation will be slowed, it can still ferment a little and when you open it, it can splatter.
- Open the bottle with care in case there are trapped gases. The sauce may separate as it sits too so just give it a gentle shake before serving.
More Fermenting
Did you enjoy this fermented chili sauce and want to try more fermenting? Try these!
Fermented Chilli Sauce Recipe
A delicious and spicy homemade red chilli sauce made from fermented chilli, garlic and onion.
This makes approximately 1 x 500ml bottle of sauce.
Ingredients
- 500 ml filtered water
- 15 grams unrefined salt
- 300 grams fresh chillies, or a mix of chillies and capsicum to lessen the spice
- 1 medium onion
- 5 cloves fresh garlic
- lemon or lime juice , optional
- sugar, optional
Instructions
- Make the salt brine brine by pouring 500ml filtered water into a saucepan along with 15g of unrefined salt. Warm the water up so the salt can dissolve, then leave it to cool to room temperature.
- If you are using unfiltered water, let the water boil and then allow it to cool.
- Prepare the vegetables - Remove the stalks from the chillies and chop them up if they’re very big. You might want to wear gloves when doing so because the spicy chilli can stay on your hands for ages afterwards! Remove the pith and seeds if you’re wanting to lessen the spice.
- Chop the capsicum into chunks, dice the onion and peel and crush the garlic cloves.
- Pack the vegetables into the jar. Pack them in nice and tightly so that you can leave about 2.5cm/ 1 inch of space between the vegetables and the top of the jar.
- Pour over the brine. Use a spatula or similar to push the vegetables down to ensure the brine has reached all the nooks and crannies and there are no air bubbles trapped.Add on a clean weight.
- Add on the airlock and lid and store the vegetables at room temperature for 10-14 days. I usually keep mine in the pantry. If you are not using an airlock and just a lid, screw it on loosely and unscrew it daily to release the trapped gases.
- The ferment may bubble so it’s best to keep the jar on a plate to catch any spills. It may also become cloudy and the vegetables will lose some colour.
- Once the vegetables have fermented, it’s time to blend the sauce. Balance a strainer over a bowl and pour the vegetables through it, reserving the brine.
- Place the vegetables in a blender and blend them until smooth. Now add in a little brine at a time until the fermented hot sauce reaches the consistency and thickness that you like. You can add in a little extra vinegar, lemon juice or lime juice depending on your taste, as well as sugar if you like a sweeter hot sauce.
- Pour the sauce into bottles. Leave some headspace between the top of the bottle and the sauce. As the sauce sits in the fridge, even though fermentation will be slowed, it can still ferment a little and when you open it, it can splatter. Open the bottle with care. The sauce may separate as it sits too so just give it a gentle shake before serving.
Recommended Products
As an Amazon Associate, a Mighty Ape affiliate and member of other affiliate programs, I earn from qualifying purchases.
Nutrition Information:
Yield: 30 Serving Size: 1 gramsAmount Per Serving: Calories: 6Total Fat: 1gSaturated Fat: 1gUnsaturated Fat: 0gSodium: 196mgCarbohydrates: 1gFiber: 1gSugar: 1gProtein: 1g